> For the complete documentation index, see [llms.txt](https://help.1024proxy.com/llms.txt). Markdown versions of documentation pages are available by appending `.md` to page URLs; this page is available as [Markdown](https://help.1024proxy.com/integrationtutorial/fbt/how-to-set-up-1024-proxy-in-mbbrowser.md).
# How to Set Up 1024 Proxy in Mbbrowser
### Mbbrowser Introduction
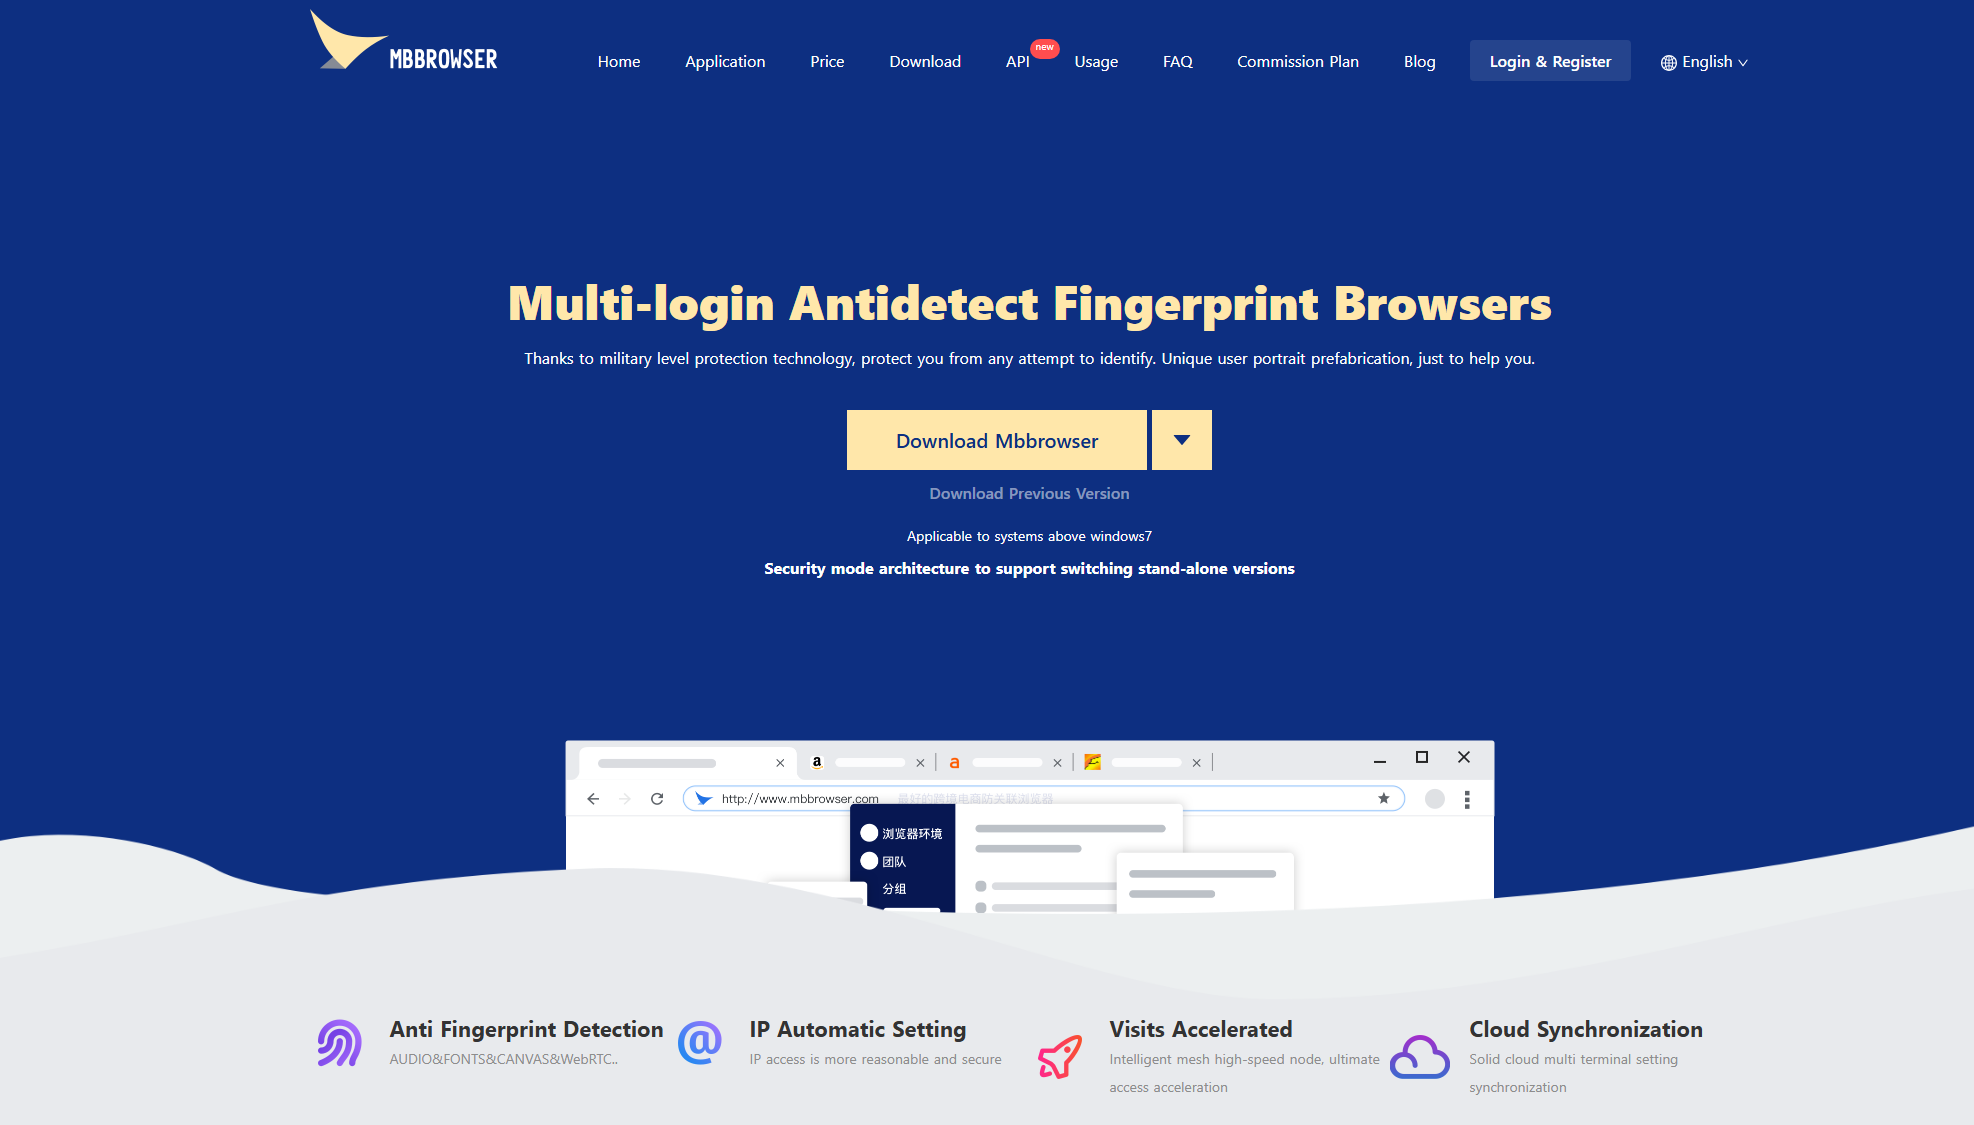
Mbbrowser is an anti-detect / anti-association fingerprint browser (Anti-detect Browser) designed to create multiple isolated browser environments on a single device. Each browser environment has its own independent browser and device fingerprint, effectively preventing account association and reducing the risk of being identified, restricted, or banned by platform risk-control systems.
### Installation & Download
Download link:
{% stepper %}
{% step %}
### Create a Browser Profile
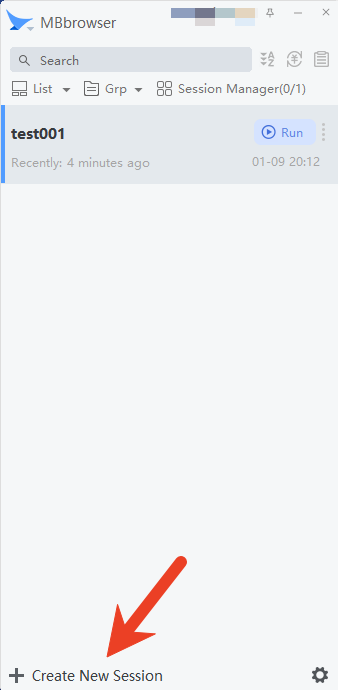
Click the \[Create New Session] button in the lower-left corner.
{% endstep %}
{% step %}
### Complete Basic Configuration
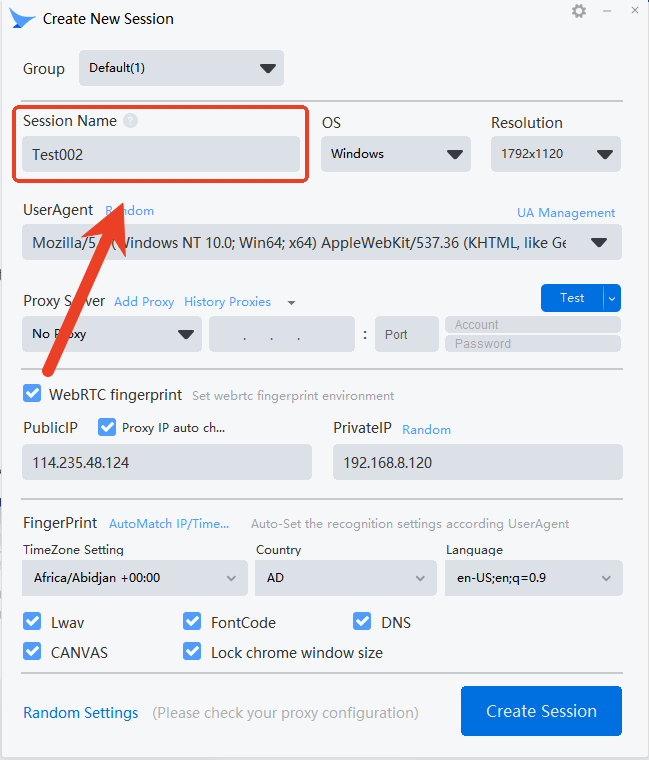
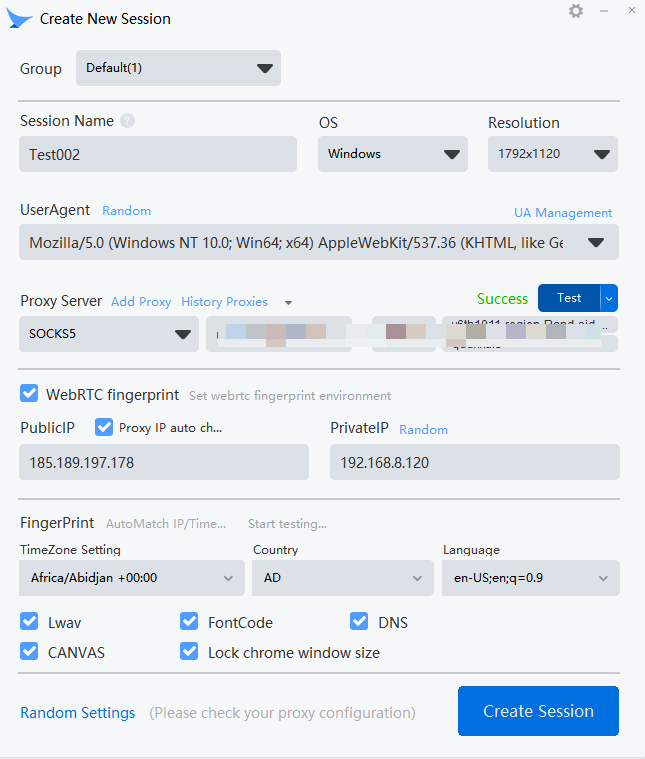
Name the newly created browser profile and complete the other basic configuration settings.
{% endstep %}
{% step %}
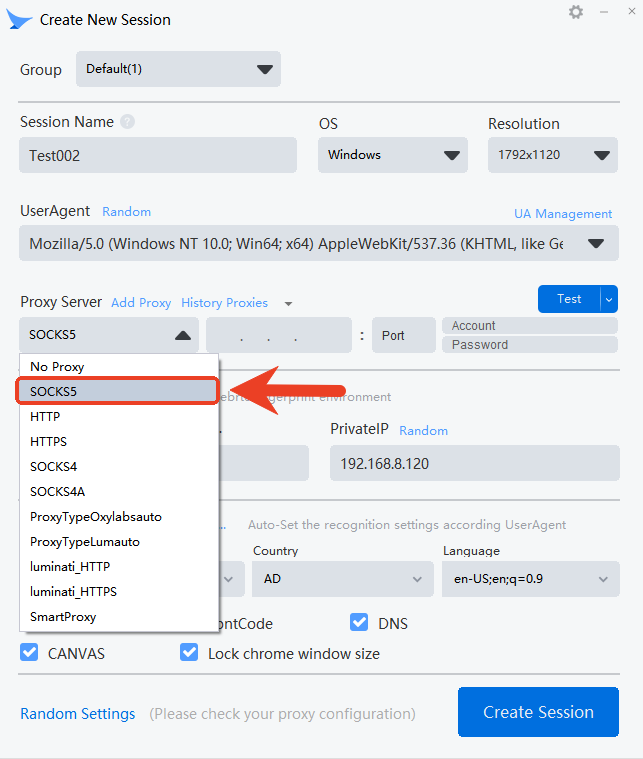
### Select the SOCKS5 Protocol
{% endstep %}
{% step %}
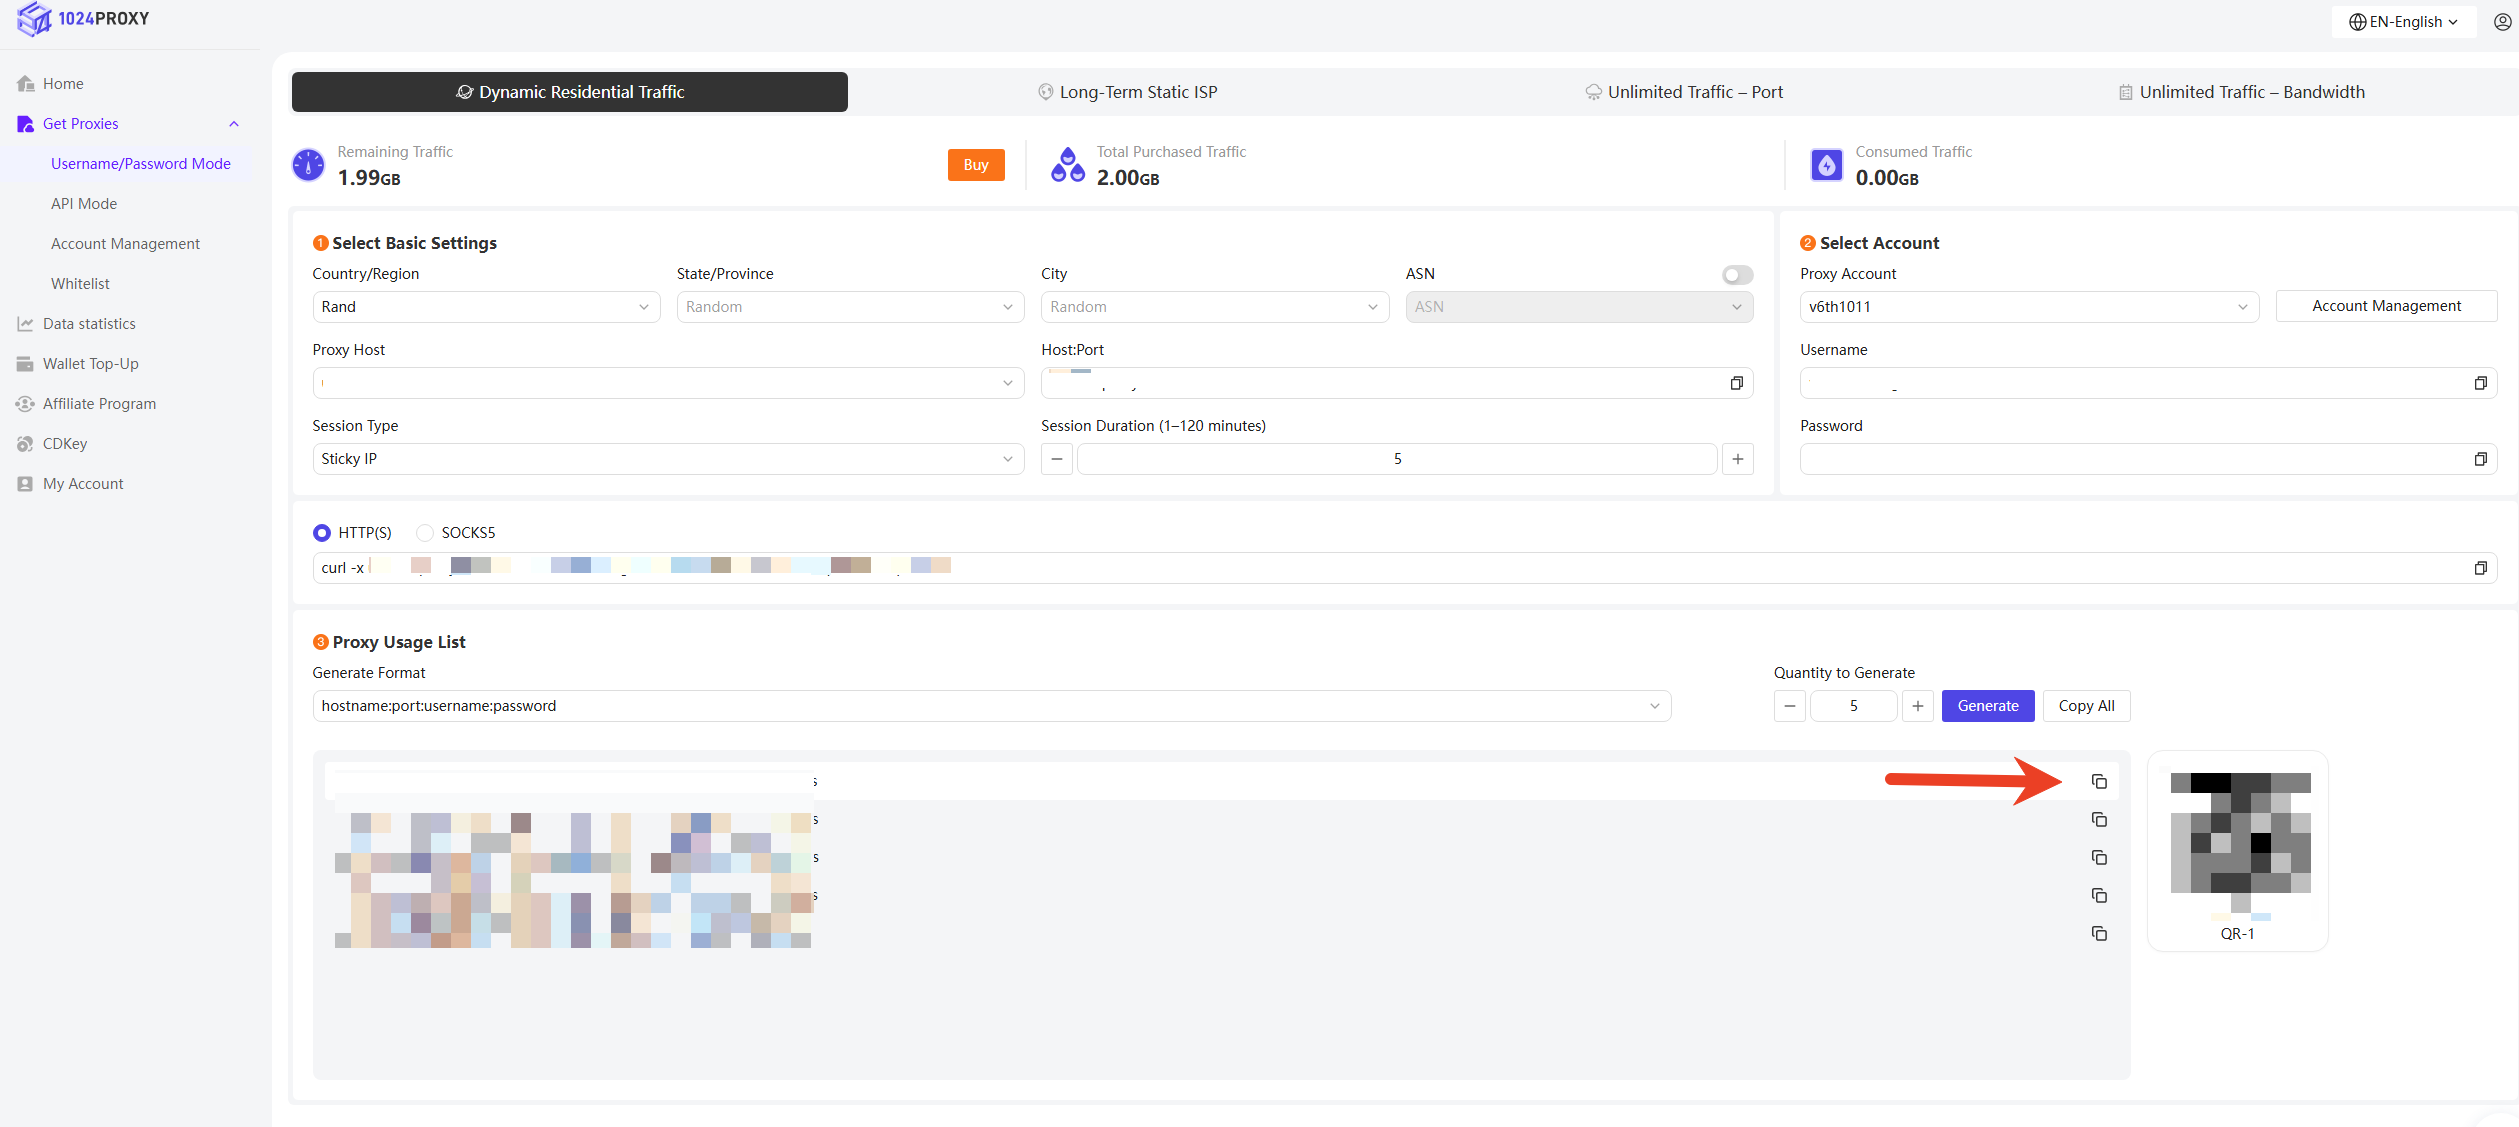
### Obtain a Proxy from 1024Proxy
Copy the proxy credentials (IP, port, username, and password) from the 1024Proxy dashboard and paste them into Mbbrowser.
{% endstep %}
{% step %}
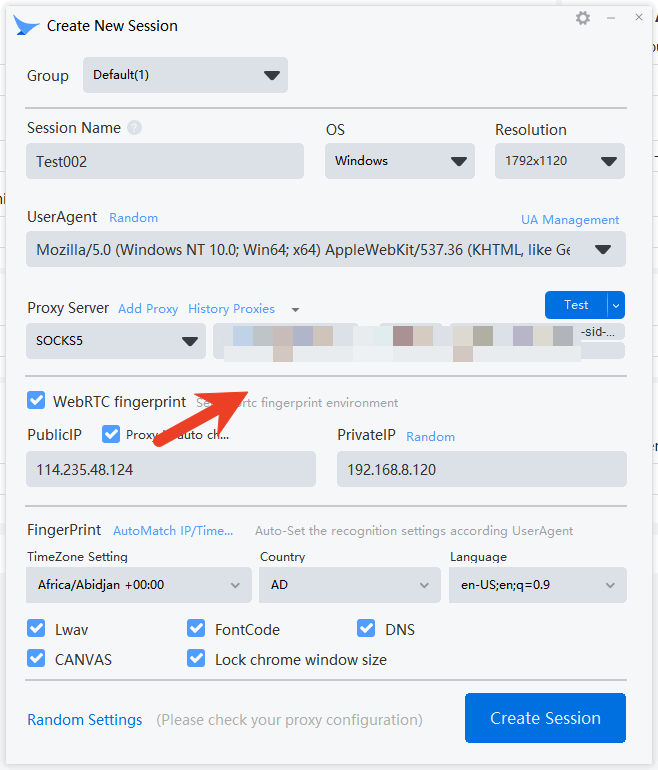
### Paste the Proxy Information
Paste the copied proxy details into the corresponding fields in Mbbrowser.
{% endstep %}
{% step %}
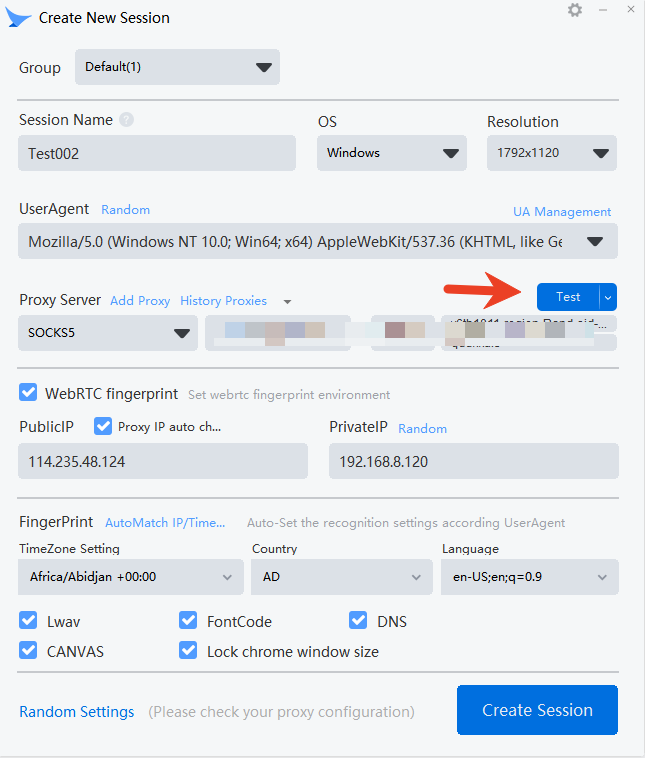
### Test the Proxy
Click the \[Test] button.
If the test result appears in green and indicates a successful connection, the proxy IP is working properly.
{% endstep %}
{% step %}
### Complete Proxy Setup and Start Using
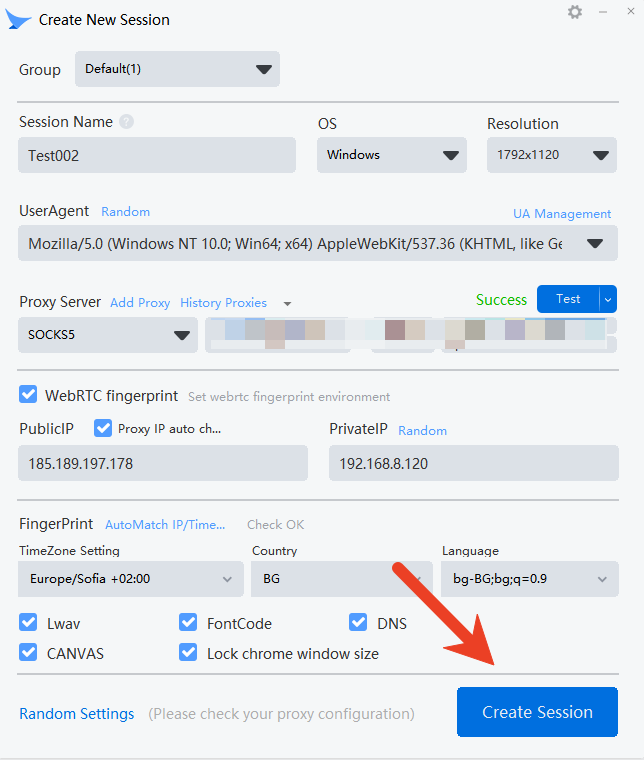
Click \[Create Session] to complete the browser profile configuration.
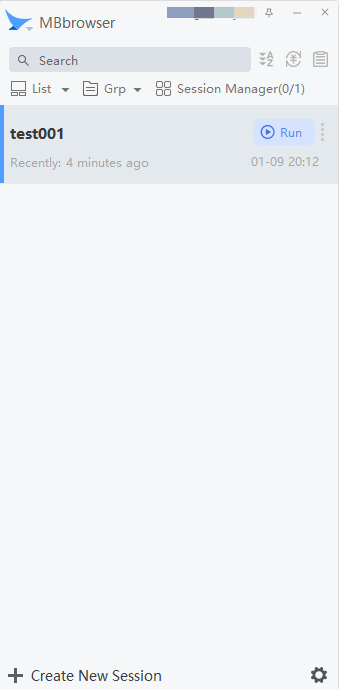
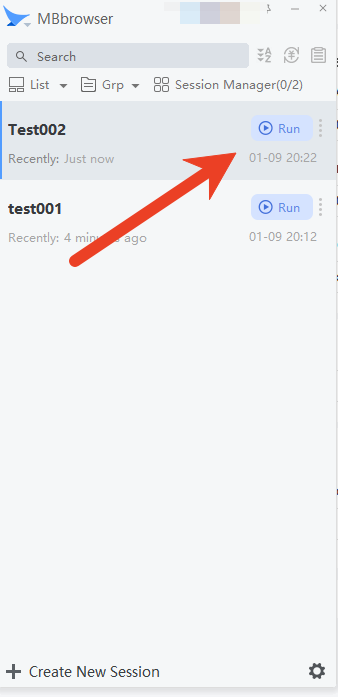
After the environment is created, you will see the newly configured proxy profile on the main page. Click \[Run] to access the target website using the configured proxy IP.
{% endstep %}
{% endstepper %}